Are you having issues with dampness seeping through your walls and causing blemishes to your interior décor? We’re familiar with this sort of situation, and applying a new coat of regular paint just won’t cut it. Yes, your walls may look refurbished right after, but with continued moisture, they just might revert to their old state.
Damp-proof paint can help counteract this as it can help prevent moisture from penetrating the walls and causing dampness, mould growth, and damage. You can apply it to interior or exterior walls, as well as basements, cellars, and other areas prone to moisture penetration. In this article, we explain how to apply damp-proof paint in four easy steps.
Step-By-Step Guide to Damp-proof Paint Application
Much like embarking on a traditional painting endeavour, the application of damp-proof paint demands keen attention to detail and the judicious use of appropriate tools – a trusty roller, an adept brush, and a sharp scraper
-
Step 1: Prepare the Surface
Before applying damp-proof paint, ensure the walls are immaculate and devoid of dust, grime, flaking paint or any residual moisture. Use a wire brush, scraper, or sandpaper to eliminate any vestiges of previous paint. Should the surface bear mould marks, a fungicidal wash or potent bleach solution should be applied and allowed to dry completely. Also, ensure to smoothen any cracks or holes with a suitable filler.
-
Step 2: Apply a Primer
The second step in this strategic campaign involves applying a primer compatible with the damp-proof paint. The purpose of the primer is twofold: enhancing paint adherence and fostering a smooth, even finish. Depending on the size and shape of the surface, you can apply the primer using a brush, roller, or spray gun. Obedience to the manufacturer’s instruction on the primer’s coverage and drying time is paramount in this regard.
-
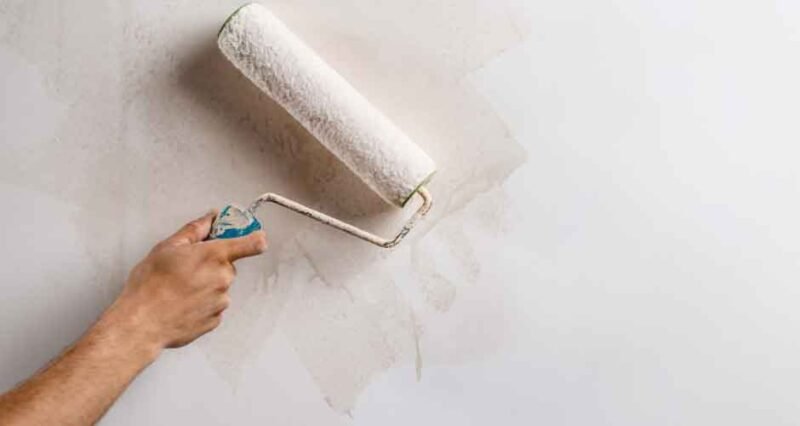
Step 3: Apply Damp-Proof Paint
Once the primer is dry, the time has come to unleash the true power of the damp-proof paint. You should use high-quality paint specially designed for damp proofing, such as Damp-Resistant Emulsion Paint or Damp Proof Paint. To ensure absolute efficacy, stick to the manufacturer’s instructions on the application method, number of coats, and drying time. In most cases, a minimum of two coats of damp-proof paint are required, with each coat permitted ample time to dry before the next is applied.
-
Step 4: Seal the Job
The final stroke is to finish the job by applying any topcoat or decorative paint you want over the damp-proof paint. However, you must exercise caution, making sure the topcoat or decorative paint is compatible with the damp-proof paint and that it does not compromise its effectiveness. Similar to previous steps, it won’t be wise to disregard the manufacturers’ instructions regarding the application method, number of coats, and drying time for the topcoat.
Final Note
The rewards of applying a damp-proof paint include; a transformed aesthetic bolstered structural integrity, and elimination of health hazards caused by mould and mildew. Nevertheless, it is essential to acknowledge that damp-proof paint, while a formidable ally, is not a cure-all for severe damp issues. In such dire circumstances, consulting a professional damp specialist becomes indispensable.
For Londoners with homes in the frustrating clutches of dampness, venerable stalwarts of damp exclusion await—London Property Preservation Limited, the eminent damp survey London specialist company. Whilst offering a free damp survey quote, they help homeowners strategise comprehensive plans to rectify moisture and dampness problems, shielding homes from their incessant grasp.